
How to Enable and Create Restore Points in Windows 10?
How to Enable and Create Restore Points in Windows 10?
System Restore is a very important and useful function in Windows system. It tracks software installations, driver changes and software updates and allows a user to revert to their prior state if something unexpected happens. The record created by System Restore service is calledSystem restore points . Windows automatically creates restore points once a week.
In Windows 10, this service is still available and fully functional. However, this feature is turnedoff by default , which means that you will not be able to find it available to use the System Restore function if you have not change the default setting toOn manually before.
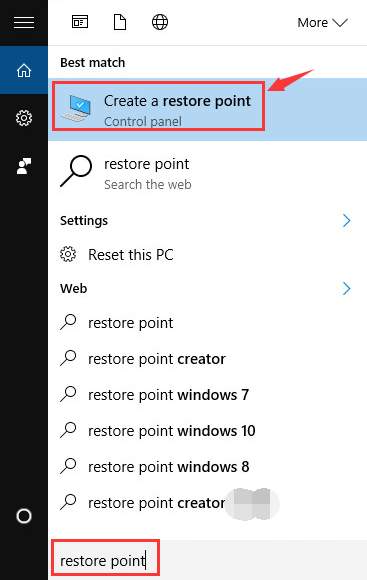
- Typerestore point in the search box and chooseCreate a restore point from the list of results.
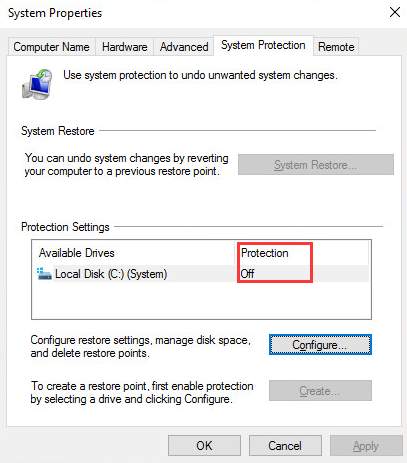
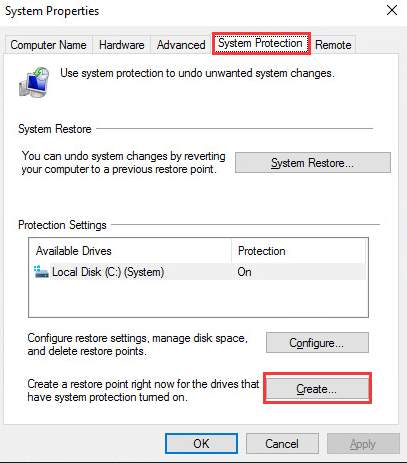
- The status of theProtection should beOff if you haven’t done anything to it before.
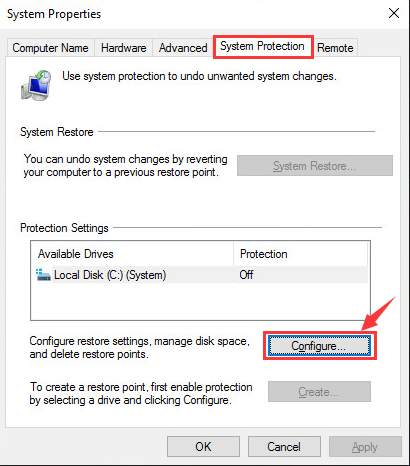
- UnderSystem Protection tab, you need to clickConfigure button.
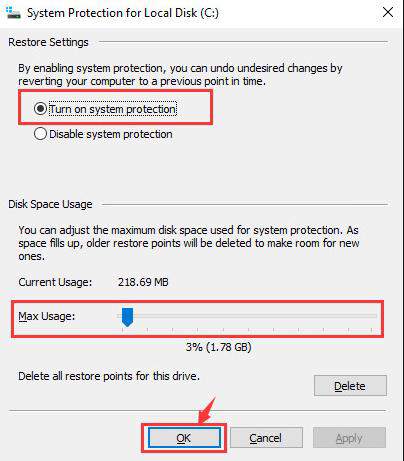
- Click to enableTurn on system protection . Then use theMax Usage slider to decide how much of your hard drive you would like to use to store Restore Points. (5% to 10% is usually enough.) Then clickOK .
- You can manually create a restore point now by going back to System Properties window. UnderSystem Protection tab, click theCreate button.
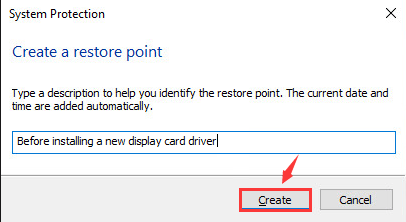
- Type in the name you want to name the restore point and clickCreate to continue.
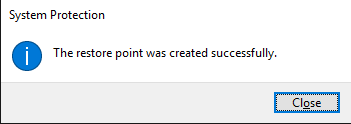
- Wait for the process to finish. Then you will see a notification as shown below.
Also read:
- [Updated] The Ultimate Guide to Post a Picture on YouTube
- Avoid Misdiagnosis: Top 5 Against Relying on ChatGPT for Healthcare
- Choosing Your Next Smartphone: A Detailed Comparison of the Latest iPhone 14 Lineup - Find Out Which Model Fits Best for You
- Discover the Future: AI Integration Takes Center Stage for M4 iPad Pro at This Year’s Apple Worldwide Developers Conference
- Effective Techniques for Detecting & Eliminating Mobile Spyware: A Comprehensive Guide
- ELAN SMBus Windows Driver Download & Upgrade Solved: A Step-by-Step Tutorial
- Exploring Computer Innovations with Tom's Hardware Insights
- Factory Reset Apple iPhone XS Max | Dr.fone
- How to Fix Pokemon Go Route Not Working On Vivo Y78 5G? | Dr.fone
- IMessage Communication on Windows OS: A Step-by-Step Tutorial | TechGuide
- In 2024, Constructing Captivating Conclusions
- In 2024, Hassle-Free Ways to Remove FRP Lock on Poco M6 5G Phones with/without a PC
- IPad Showdown: Decoding the Differences Between the New M1 and M2 Models for Tech Enthusiasts | ZDNET Exclusive Analysis
- Switching to Apple's iPad Just Got Irresistible with New iPadOS 18 Capabilities Showcased at WWDC 2024 | Expert Review
- The Apple Temptation: A Die-Hard Android Fan's Guide to iPhone 1Er Features That Might Just Convert Them | GadgetFlow
- Unlocking Safe Browsing: Leading iPhone VPNs Rigorously Assessed by Industry Specialists | ZDNET Insights
- Upgrade Security with macOS 14.4.1: A Safer Path to Enhancing Your Mac Experience | ZDNet
- Where Is the Best Place to Catch Dratini On Realme GT 3 | Dr.fone
- Why Does My PC Keeps Causing Blender to Fail? Find Out and Fix the Issue Now
- Title: How to Enable and Create Restore Points in Windows 10?
- Author: Donald
- Created at : 2025-01-28 16:41:27
- Updated at : 2025-01-31 17:42:22
- Link: https://some-tips.techidaily.com/how-to-enable-and-create-restore-points-in-windows-10/
- License: This work is licensed under CC BY-NC-SA 4.0.